How to Pour Candles the Right Way: Temperature, Smooth Tops, and Fewer Rejects
Aug 29, 2026When we started Garsnett Beacon Candle Co. at our kitchen table during the pandemic, I thought pouring a candle was the easy part. Melt the wax, add fragrance, pour it in the jar, done. Then I lined up my first batch the next morning and half of them had lumpy, cratered, frosted tops that looked like a science experiment gone wrong. I remember standing in the kitchen thinking there was no way anyone would pay money for these.
Here is the good news I wish someone had told me back then: a smooth, professional top is not luck and it is not some secret only big brands know. It comes down to a handful of variables you can control. Once we nailed our pour, our reject rate dropped, our candles looked like they belonged on a shelf, and we stopped wasting wax. If you are learning how to start a candle business, getting your pour dialed in is one of the fastest ways to make your product look like it came from a real company instead of a hobby.
Let me walk you through exactly how we pour, why each step matters, and how to fix the tops that go wrong.
Pour temperature is the whole ballgame
If you remember one thing from this post, remember this: the temperature you pour at matters more than almost anything else. Pour too hot and the wax pulls away from the jar as it cools, leaving you with wet spots and sinkholes. Pour too cold and you get a bumpy, uneven surface that never smooths out.
For most soy and soy blend waxes, we pour somewhere in the range of 135 to 145 degrees Fahrenheit. Some waxes like a slightly higher or lower window, so always start with what your wax manufacturer recommends and then adjust from there. The number on the bag is a starting point, not a law. In our own studio, we tested the same wax at five degree steps until we found the exact temperature that gave us the cleanest tops in our vessels, and it was worth every test candle.
Grab a good thermometer and actually use it. Eyeballing it is how you get an inconsistent product. A cheap infrared thermometer or a simple candy thermometer works fine. If you want help mapping out your batch amounts and costs while you test, our free candle calculators take the math off your plate so you can focus on the pour.
Heat your jars before you pour
This is the step new makers skip the most, and it fixes more problems than anything else on this list. When warm wax hits a cold jar, it cools too fast on the glass and pulls away, which is what causes those cloudy wet spots along the side. Wet spots are not a defect in your wax, they are usually a temperature shock issue.
Warm your vessels to around body temperature before you pour. We use a simple heat gun and give each jar a quick pass, but in the early kitchen table days I literally set our jars on top of the warm melting pot to take the chill off. Warm glass plus the right pour temperature equals wax that adheres to the sides instead of shrinking away from them.
Our step by step pour
- Melt to your target and add fragrance at the right point. Heat your wax to the melting temperature your manufacturer lists, then add your fragrance oil and stir gently but thoroughly for two full minutes. Under stirring is a top killer nobody talks about. If the fragrance is not fully bound to the wax, it separates and ruins both your top and your scent throw.
- Let it cool to pour temperature. Do not rush this. Watch your thermometer and let the wax drift down into your pour window. This is your patience tax, and it pays off.
- Warm your wicked, centered jars. Wicks placed and centered, glass warmed, everything within arm's reach.
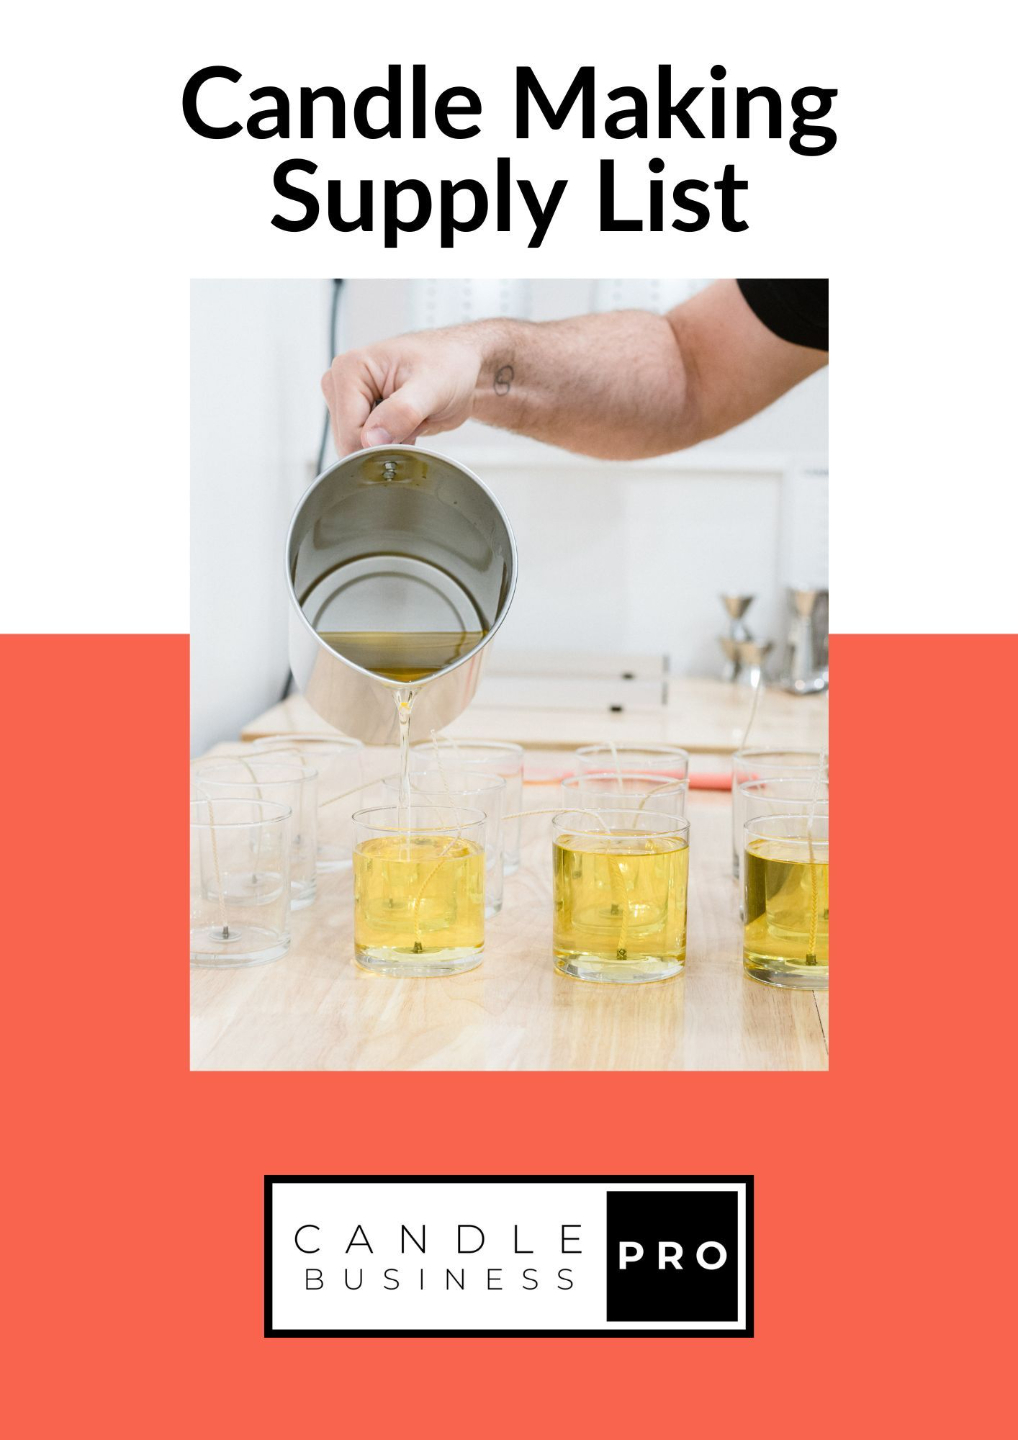
- Pour slow and steady. A slow, controlled pour reduces air bubbles and gives you a more even surface. Pour to your fill line and stop.
- Leave them alone. Let the candles cool at room temperature, away from drafts, air conditioning vents, and open windows. A cold draft on a cooling candle is a recipe for cracks and uneven tops. We cool ours in a spot with steady, still air and do not touch them until they are fully set.
How to fix the tops that still go wrong
Even with everything dialed in, you will get the occasional imperfect top, especially in a new fragrance or a new vessel. Here is how we save them instead of tossing them.
The heat gun rescue. This is the single most useful tool in our studio for cosmetic fixes. If a top sets up bumpy or has a small crater, a quick, gentle pass with a heat gun re melts just the top surface and lets it re level into a glassy finish. Keep the gun moving so you do not overheat the wax, and stop the moment it goes smooth.
The second pour, or top off. For sinkholes, which are those little collapses that form around the wick as the wax contracts, save a small amount of wax from your batch and do a second thin pour once the first has mostly set. This fills the sinkhole and gives you a level surface. Some makers pour a hair under the fill line on purpose just to leave room for a clean top off.
Frosting. If you are pouring soy, frosting is that white crystalline look that shows up on the surface and sides. It is a completely natural feature of soy wax and it does not affect burn or scent at all. We actually put a small note in our packaging that a little frosting is a sign of real, natural soy wax. Sometimes the fix is not a fix, it is telling your customer the truth so it becomes a feature instead of a flaw.
Test, log, and stay consistent
The makers who get consistently beautiful candles are the ones who treat pouring like a repeatable recipe instead of a guess. When we find a pour temperature and cooling setup that works for a specific wax and vessel combination, we write it down and we do it the same way every single time. Change one variable, like a new fragrance oil or a new jar size, and you test again. That discipline is what let us grow from a kitchen table to 160 plus wholesale accounts and our brick and mortar shops here in Holland, Michigan, without our quality slipping.
Consistency is also what protects your margins. Every rejected candle is wax, fragrance, a wick, and a jar you paid for and cannot sell. Cutting your reject rate is one of the quietest ways to make your candle business more profitable, and it starts with a clean pour.
If you are just getting your setup together, our free candle making supply checklist will make sure you have the thermometer, heat gun, and pouring tools you actually need before you start. And if you want the full roadmap for turning your candles into a real business, our 10 step guide to starting a candle business lays out every stage we went through.
Want to see a pour in action? We share real studio walkthroughs on our YouTube channel, and if you get stuck or want feedback on a top that will not cooperate, come join our free candle business community on Facebook. Thousands of makers are in there troubleshooting the exact same things, and I promise you are not the only one who has ever poured a batch of lumpy candles. We all started there.
Get your pour right, and everything downstream gets easier. Your candles look professional, your customers trust your brand, and you stop pouring money down the drain one reject at a time.
Meet The Author